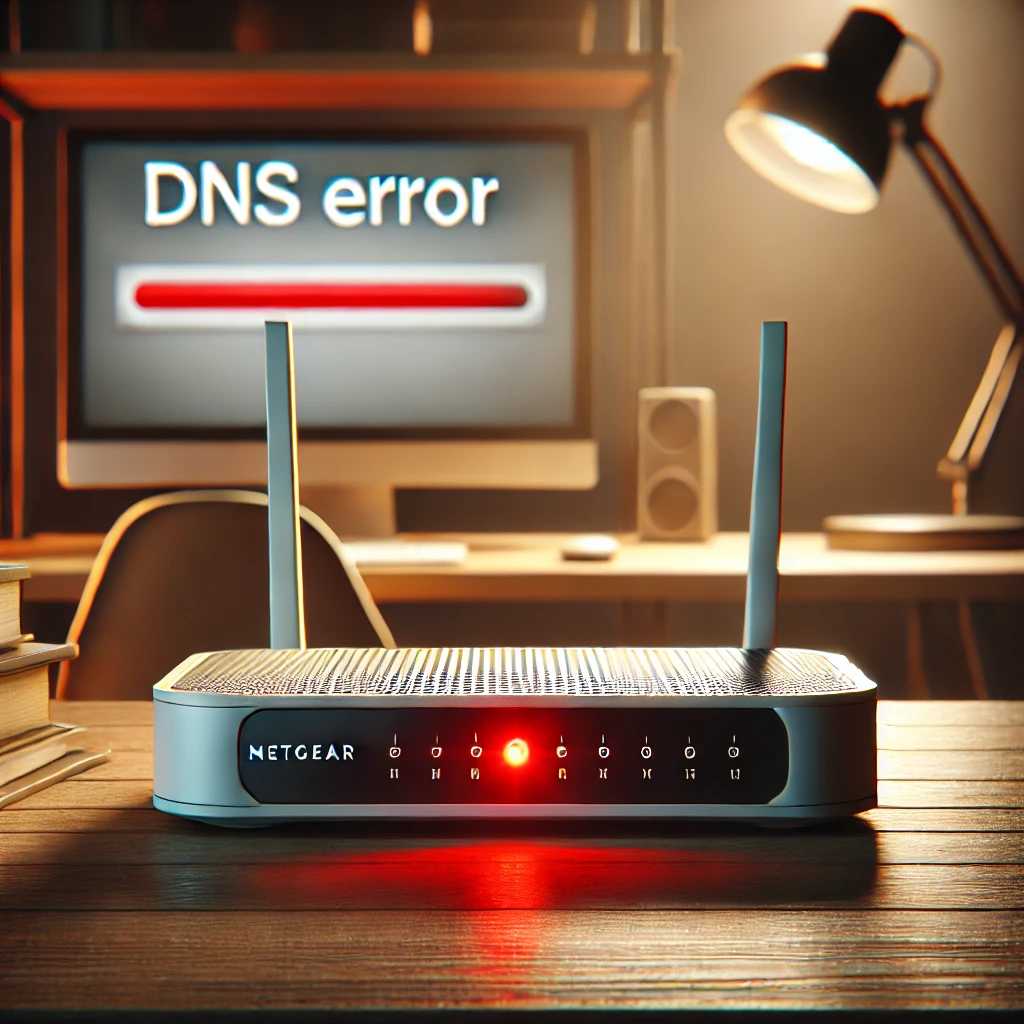
Ever been stuck with the dreaded “cax80-100nas cannot connect to DNS” error?
You’re not alone.
Right when you think everything’s fine, this message pops up, leaving you with endless buffering and web pages that won’t load.
Why does this happen? And more importantly, how can you fix it without breaking a sweat?
Let’s go through it all, step-by-step.
What’s Really Going On Here?
Okay, here’s the deal.
The DNS (Domain Name System) acts like a phonebook for the internet, translating web addresses to IP addresses.
When you get the “cannot connect to DNS” error, your router can’t find the IP addresses it needs.
The Netgear cax80-100nas router is solid, but sometimes it hits a DNS roadblock, leaving you stuck.
Common Reasons for DNS Issues
- Network hiccups: Sometimes it’s a quick blip in the connection.
- ISP problems: Your internet provider might have server issues.
- Outdated firmware: New updates come out for a reason—outdated software can trip things up.
- Wrong DNS settings: Maybe something got tweaked without you noticing.
All these sound like techie talk, but hang tight—solving this is easier than it seems.
Quick Fixes for cax80-100nas DNS Connection Issues
1. Reboot Your Router
It sounds too easy, but trust me—this can work wonders.
Just switch off the router, wait 30 seconds, and turn it back on.
Sometimes, that’s all it takes.
2. Check the DNS Settings
Head into your router’s settings and check out the DNS configuration.
Here’s a simple guide on how to do that:
- Type
http://192.168.1.1into your web browser. - Enter your router’s login credentials.
- Go to the DNS settings section and ensure they’re set to “Automatic.”
If you’re unsure, switch to Google’s public DNS servers: 8.8.8.8 and 8.8.4.4.
By doing this, you’re telling your router to look for websites through reliable, free DNS servers.
3. Update Your Router’s Firmware
Outdated firmware can be the sneaky culprit behind the cax80-100nas cannot connect to DNS issue.
Updating it not only fixes bugs but can also boost your overall connection speed.
To update:
- Go to the router settings page.
- Look for the firmware update section.
- If there’s a new version available, download and install it.
Updating is like giving your router a little TLC.
And it’s surprisingly quick and easy.
4. Change DNS Servers on Your Device
Sometimes the issue isn’t with the router at all.
Switching DNS settings on your computer or mobile can give you a fast fix.
- On Windows:
- Open Network Settings.
- Select Properties for your network.
- Under IP settings, choose “Manual” and enter 8.8.8.8 and 8.8.4.4.
- On Mac:
- Go to System Preferences, then Network.
- Choose your network and select Advanced.
- Under DNS, click the ‘+’ and enter 8.8.8.8 and 8.8.4.4.
Doing this can give your connection a little boost.
FAQs
Why does my cax80-100nas keep having DNS issues?
These routers are generally reliable, but like any tech, they can encounter hiccups.
Most of the time, it’s due to ISP problems or outdated settings.
Is it safe to use Google’s public DNS?
Absolutely. It’s free, reliable, and fast.
Switching to Google’s DNS can also help you avoid downtime caused by your ISP’s DNS issues.
Do I need to call my ISP if DNS issues persist?
If you’ve tried all these steps and the problem still lingers, give your ISP a call.
Sometimes, they’re aware of ongoing issues that they can resolve from their end.
Let’s Keep Your Connection Smooth
You don’t need to be a tech wizard to troubleshoot DNS issues on your cax80-100nas.
If you’re still struggling after these fixes, it might be time to call in some extra help.
A little patience goes a long way, and soon, you’ll be back online.
- Also Read: Galaxy Book3 NP750XFH 15.6 LCD Back Cover.
Final Thoughts on the cax80-100nas cannot connect to DNS
When it comes to cax80-100nas cannot connect to DNS errors, a few quick fixes can make all the difference.
Stay on top of updates, give your router a quick restart now and then, and don’t hesitate to swap out DNS servers.
These little tweaks can keep your connection steady and help you avoid headaches down the line.
And remember, you’ve got this—no need for panic. With these tips, DNS issues will be the least of your worries.
Now go tackle that DNS issue like a pro!

